|
| Click the picture to get your own Boxycharm! |
Let's get into November's box! This month's theme was 'Goal Digger' with all the items having a black and gold theme to them. I have cracked open almost all of them so you can also see my review under each picture!
 |
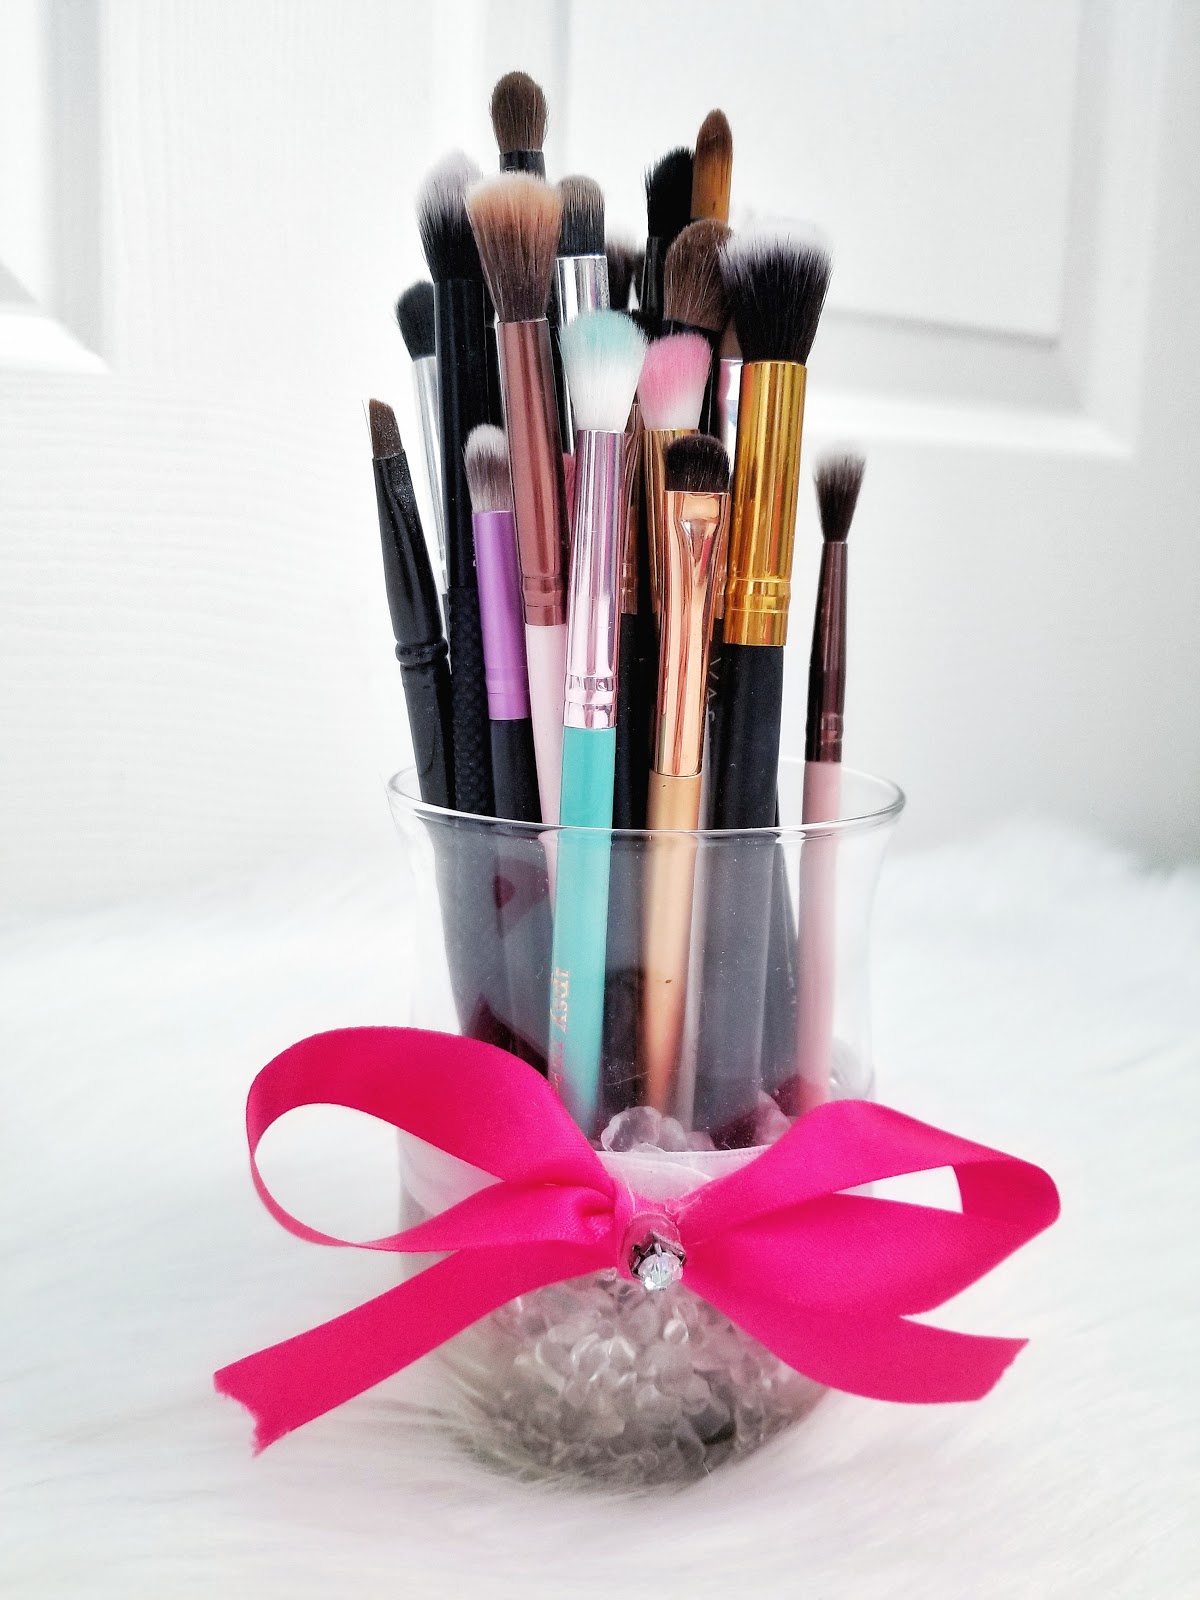
| Click the picture to get your own BoxyCharm! |
First thing I saw were these beautiful Luxie Luminous Eye Set brushes. I've gotten several over the years with Boxycharm and these were dainty cute eye ones to add to my collection. They have gold sparkles on the handles and gold all throughout. I have used a few already and they are super soft and great for eye makeup. I think these are really great quality and having so many of them from over the years, I can say that I am really satisfied with them and do recommend them! The four piece set retails at $30 on its own, but I was able to get it for $21 in my whole boxycharm!
 |
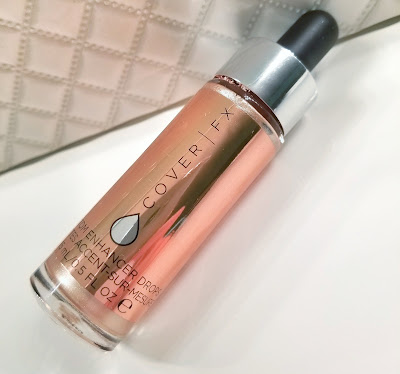
| Click the picture to get your own BoxyCharm! |
The next thing I got was the CoverFX glitter drops! They are a golden color with a lot of glitter in it. I think if you were to use this, it would be great to use on your cheekbones and then some powder highlighter over it to make it really pop. I've seen videos of people using it as their eyeshadow or in their lipstick or even in their foundation. These drops retail for $44 on their own.


The third item I got was this beautiful ACE Beaute Grandoise Palette with a pretty gold patterned cover all around. I think I'm more in love with this packaging than anything! The colors are all warm and super pigmented. I used just a splash of the Poppy color and it was too much because of how much pigmentation is in them, so I had to blend my life away to get that color smooth. I did a few swatches of the colors and I think it's just beautiful. If you're into warm colors, you'll love this! This palette is valued at $24.99 on its own.
 |
| Click the picture to get your own BoxyCharm! |
The fourth item was a Jonteblu Glittering Star Eyeliner. This eyeliner is black with sparkles in it and it's quite beautiful. I used it as a waterliner and it went on great. It's not super pigmented but it did what I needed it to do. This is valued at $5 on its own.
 |
| Click the picture to get your own Boxycharm! |
The final item I got was Lashaholic Lashes - Instagram False. These lashes are the cutest! They are not too big nor too small. They would be perfect to wear to any event or dinner. I think I'll whip them out during New Years since I hardly ever wear lashes, why not wear them for a special occasion?! These lashes are valued at $14.99 on their own.
There you have it! Those are my boxycharm items for November. In total, it is valued around $115 but I only paid $21 with free shipping! Click here or any picture above to get your own! You won't regret it!